
Structures
Light moulding for indirect lighting
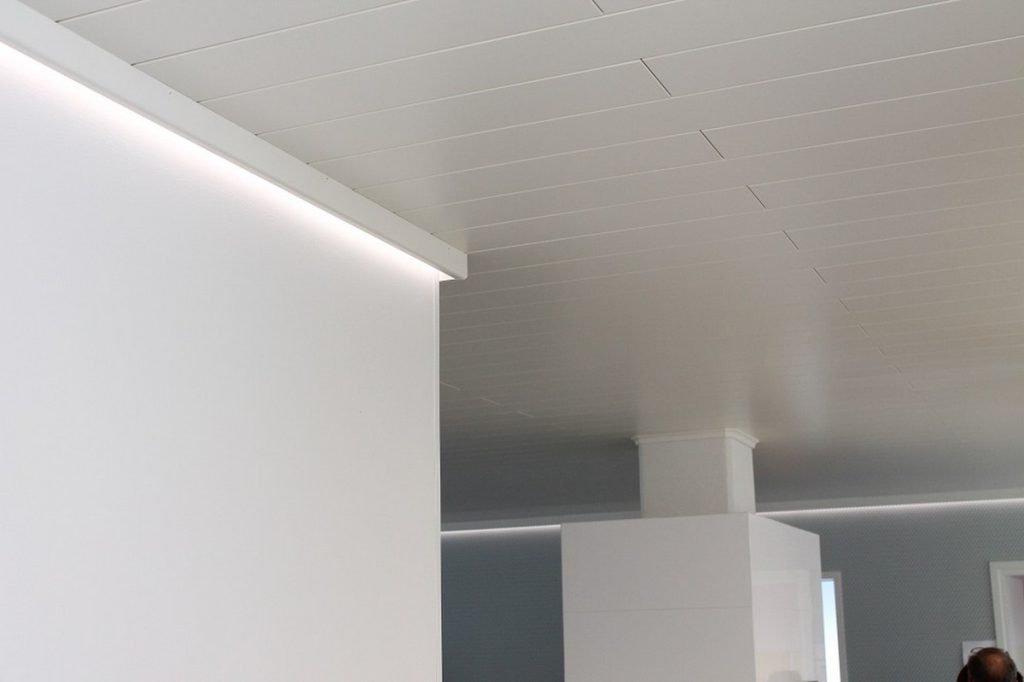
An ordinary timber trim at the wall-ceiling junction, a 7 × 18 mm aluminium profile behind it, strip in the profile. The trim is painted to match the ceiling. The cheapest indirect light there is – and it goes up in an afternoon.

What a light moulding is
A light moulding is a timber or MDF trim from a builders’ merchant – the same one used as a ceiling cornice – fixed to the wall 40-60 mm below the ceiling or to the underside of a kitchen cabinet. Behind it, between the trim and the wall, a low aluminium profile fits, with the LED strip glued into it. The trim is the glare shield: it hides the strip from view and lets the light out only upwards to the ceiling.
It is the same idea as a plasterboard bulkhead, but the bulkhead is replaced with a single trim. No framing, no plasterboard, no filling. The only work is screwing the trim in and painting it.
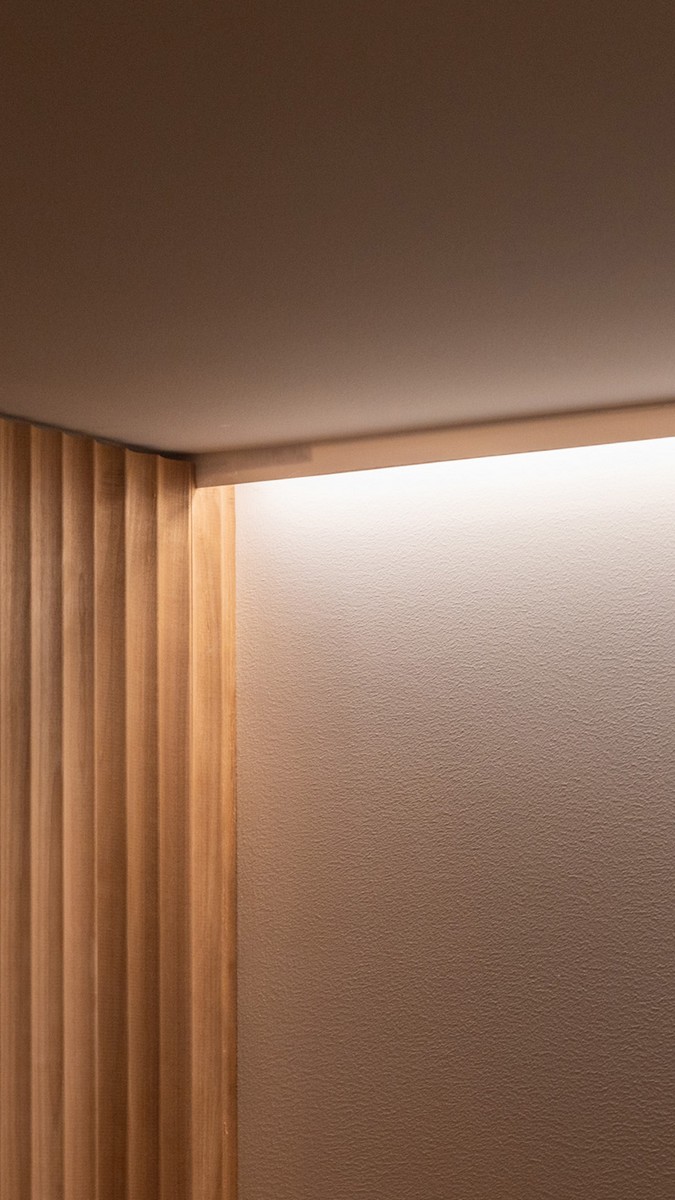
Structure and dimensions
| Profile | 7 × 18 mm low surface profile – the slimmest that fits behind the trim |
| Trim | Timber or MDF, 40-60 mm high, 12-18 mm thick. An L-trim or a straight trim + spacer |
| Distance from ceiling | 40-60 mm – the top of the trim. Under 30 mm makes a sharp stripe, over 80 mm and the trim becomes a bulkhead |
| Gap between trim and wall | 20-25 mm – 18 mm profile + the strip’s cable |
| Space from the wall | 20-30 mm depending on trim thickness |
| Strip | COB 7.2-14.4 W/m, max 8 mm wide – 10 mm does not fit in a 7 mm profile |
The trim height is the glare shield
The strip is right behind the trim, so the lip can be low – 20-25 mm above the top of the strip is enough from seated height. A 40-60 mm trim therefore gives a generous margin. The light is cut at the edge of the trim and leans towards the wall – that is the nature of this structure, not a fault.
Installation step by step
- Mark the top edge of the trim with a laser 50 mm from the wall along the whole wall.
- Nail the trim to the ceiling along the marked line. The easiest is a finish nailer, every 50 cm. Alternatively, first glue small L-brackets to the trim and screw through them into the ceiling behind the trim.
- Screw the LED profile brackets to the ceiling behind the trim and press the trim into place against the ceiling.
- Glue the strip into the profile and run the cable from the end of the profile to the corner or behind a cabinet to the driver.
- Fit the LED profile cover staggered, starting with a long cover from the cut end of the profile, so that the profile and cover joints do not overlap.
- Connect and test: sit where the sofa is and look at the light =)
- Acrylic filler or wood filler in the trim joints and any screw or nail marks.
- Paint the trim to match the ceiling – matt. Switched off, it disappears into a cornice.
In practice: bedroom 3 × 4 m, three walls
The wall on the bed side is left out (the strip would be visible lying down). Three walls 3 + 4 + 3 = 10 m. 7 × 18 mm profile 10 m about €200, COB strip 7.2 W/m 10 m €150, MDF trim 45 mm 10 m €25, 100 W driver €70, paint. Total under €500. Work: one afternoon, no electrician if the driver is a plug-in on top of a chest of drawers.
Light moulding vs. plasterboard bulkhead vs. surface profile
| Light moulding | Surface profile | Plasterboard bulkhead | |
|---|---|---|---|
| Space required | 20-30 mm | 15-30 mm | 50-150 mm |
| Visible when off | As a cornice | As an aluminium trim | Not visible |
| Work | An afternoon, no professional | An afternoon | 3-4 days, carpenter + painter |
| Materials / m | €25-35 | €35-50 | €25-30 + labour €100-200 |
| Corners | Trim mitred, strip breaks | Profile 45°, corner connector | Seamless |
| Suits | Finished room, on a budget | Finished room, modern look | Renovation, best result |
Retrofit – all methods → · Wall-ceiling junction → · Glare shield →
Profile behind the trim → LedStore
Frequently asked questions
What is a light moulding?
An ordinary timber or MDF trim at the wall-ceiling junction that hides a 7 × 18 mm aluminium profile and LED strip behind it. The trim is the glare shield and is painted to match the ceiling. The cheapest indirect light for a finished room.
Light moulding or plasterboard bulkhead?
A light moulding goes up in an afternoon and takes 20-30 mm. A bulkhead needs 3-4 days of building work but is seamless. Light moulding for a finished room, bulkhead for a renovation.
Can a light moulding be painted?
It should be painted to match the ceiling with matt paint – switched off, it disappears into a cornice. Timber and MDF paint normally. If the trim is aluminium, use a primer first.
How is a light moulding fixed?
With screws or nails into the wall every 40 cm, countersunk and filled. An L-trim straight over the profile, a straight trim on 20 mm spacers. Glue alone will not hold for years.
How are light moulding corners done?
The trim is mitred at 45° like a cornice. The strip is cut before the corner and continued with a corner connector – a 3-5 cm dark spot remains in the corner, which does not show on the ceiling.
Which strip behind a light moulding?
COB 7.2-14.4 W/m, max 8 mm wide – a 10 mm strip does not fit in a 7 mm profile. COB, because the profile is shallow and SMD would show dots.
Profiilit tähän rakenteeseen
Lista- ja tasoprofiilit
Valolistan voi ostaa myös valmiina profiilina. Nämä mallit asennetaan tasoon, listaan tai ripustetaan katosta ilman puutöitä.
Profile-curtain-DECO-W-2m
Profile-floor-molding-3m
profile-shelf-EDGE-W-3m
Profile-indirect-molding-stairs-3m
profile-suspended-2-51-76-W-3m
Hinnat sisältävät ALV 25,5 % ja ovat LedStore.fi:n voimassa olevia hintoja. Profiilit sisältävät opaalikannen ja päätypalat; LED-nauha tilataan erikseen.
Toteutettuja kohteita
Valolista toteutettuna
Puulistan taakse asennettu matala profiili – valolistan neljä toteutusta.
Kuvat: LedStore.fi toteutetuista kohteista.